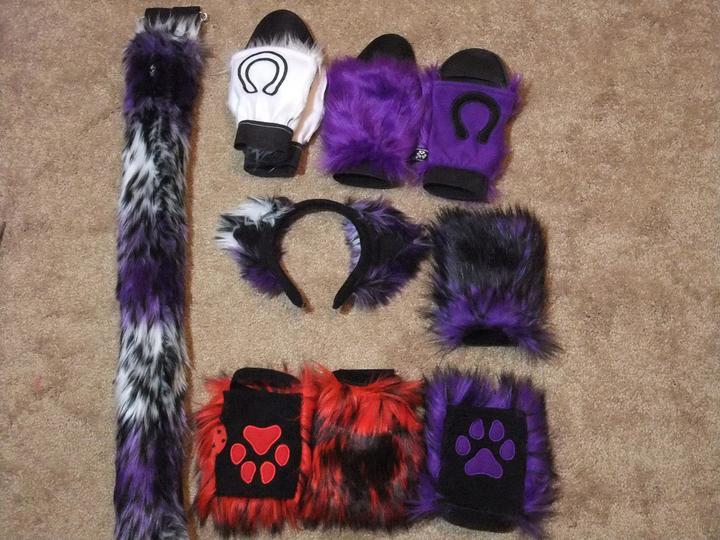
My husband and I bought some paws, hooves, ears, and a tail from a company that we like. We had bought from them before and haven’t had to change things. This time however, we needed to modify some of the pieces to fit us better or do what we wanted. This post is going to cover modifying the sets of paws. We have plans to modify the hooves and possibly the tail. I modified the paws first since they went with our costume plans for a convention this week.
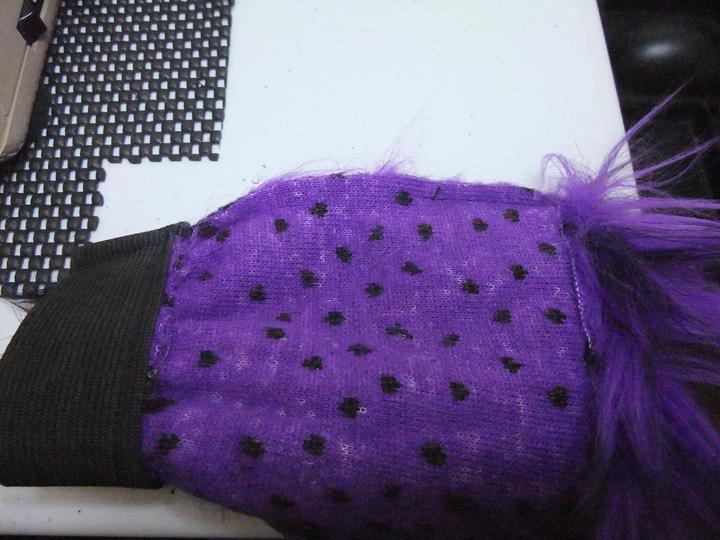
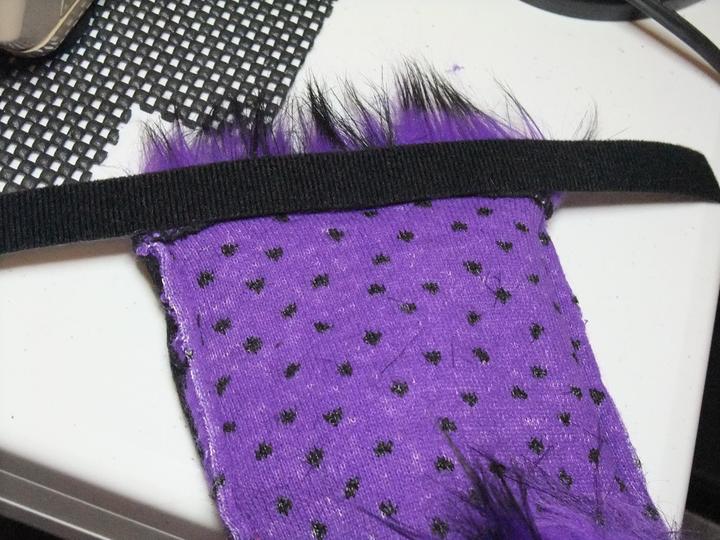
Let’s begin with how I changed my paws. This is what they looked like to begin with. Sorry for the blurriness.
I didn’t want thumb holes in my paws because I don’t like that feeling. It wasn’t the fabric or fit, I just prefer having my hands in more of a sleeve. Since the paw is big enough, I can just slide it down some to get my thumb out if I need to use it.
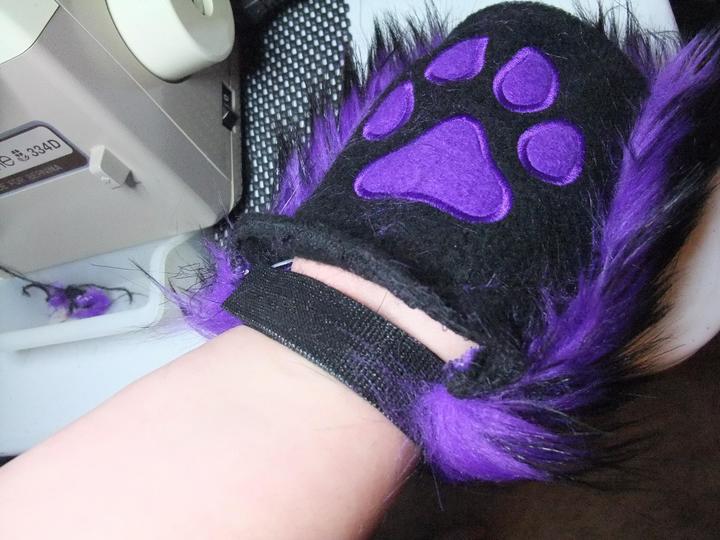
First step was to turn the paw inside out so I could make my seam on the inside and make it meet up with the rest of the original seam.
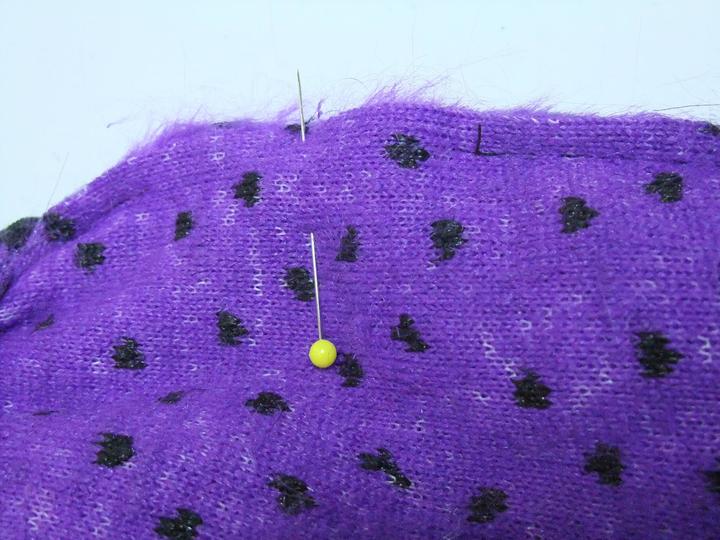
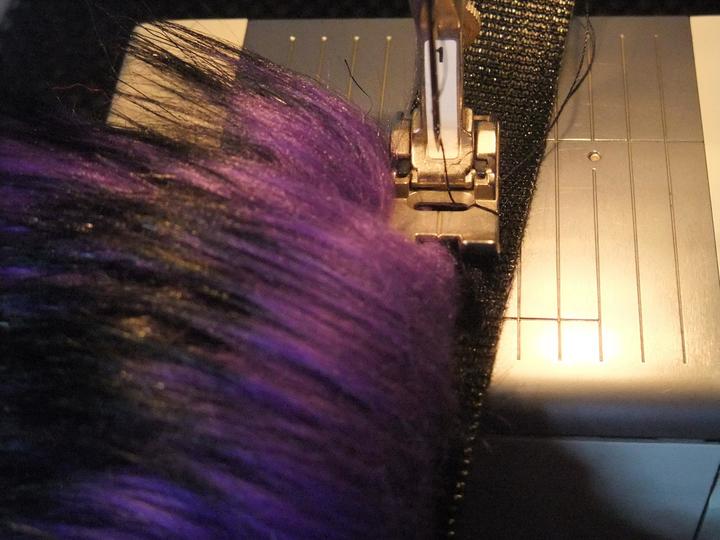
If you look closely, you should see where the original seam is, with a gap in the middle for the thumb to go. You can either close the hole by hand stitching it shut or by using a sewing machine if yours can handle it. I have a machine that can handle fluffy/thick fabric as long as it fits under the foot, which this did. So I placed a pin the center of the gap to make sure the fabrics stayed lined up while I was sewing. You can skip that step if you’re comfortable enough with your machine and skills to do so, which I did on the second paw but wanted to show this option.
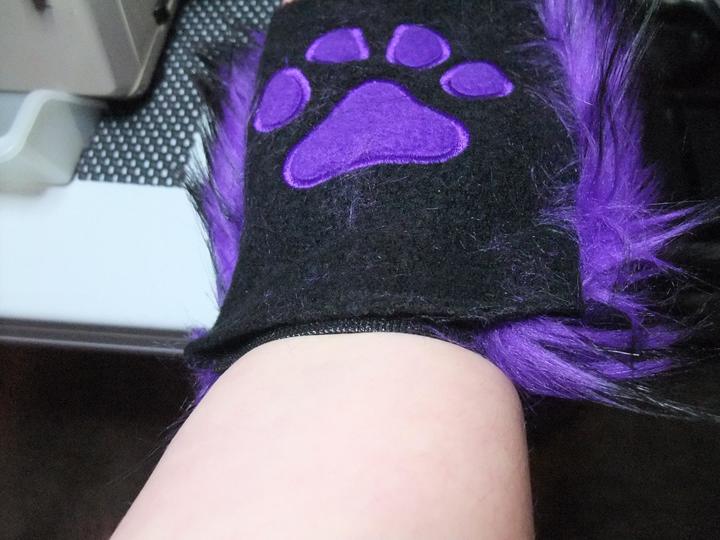
I set my machine up to do a regular straight stitch. I lined the original stitch up with the needle on my sewing machine, and made sure that when I started sewing, my stitch would overlap a little with the original one. I made a couple stitches, then back stitched over those, and continued stitching until my stitch overlapped a little with original one of the other side of the gap, then back stitched again to make sure my stitch was secure. I know the stitch is hard to see due to the type of fabric this is, but here is a picture showing the closed gap.
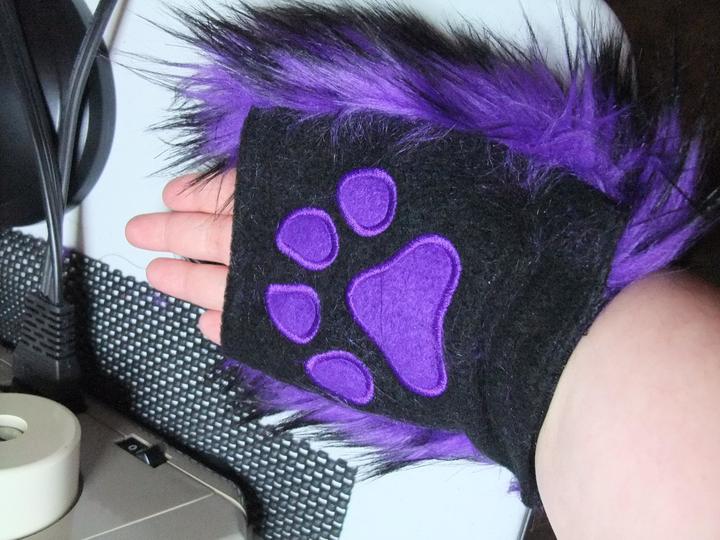
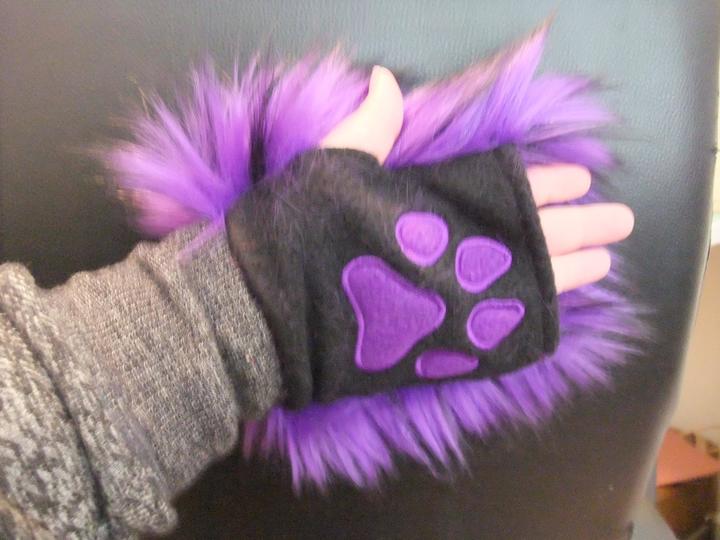
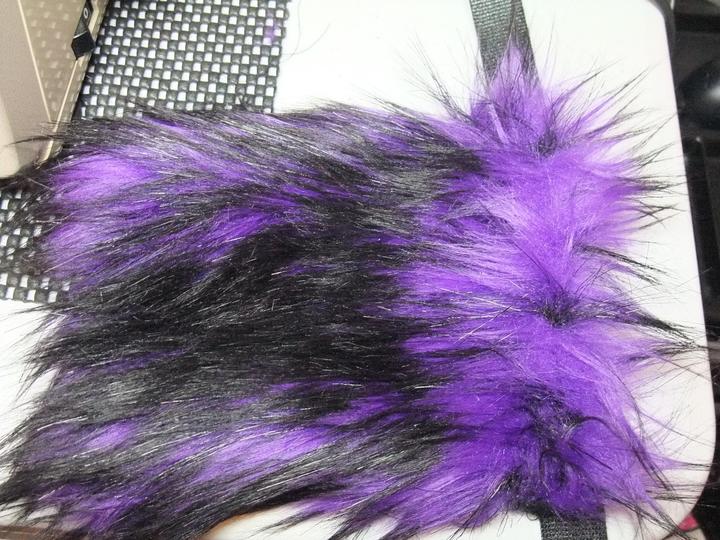
Last part was to turn it right side out again and try it on. It fit just fine and the seam held with normal pressure from my hand. Did the second paw from the set without any issues. Final picture is at the end of this post as I had more modifying to do.
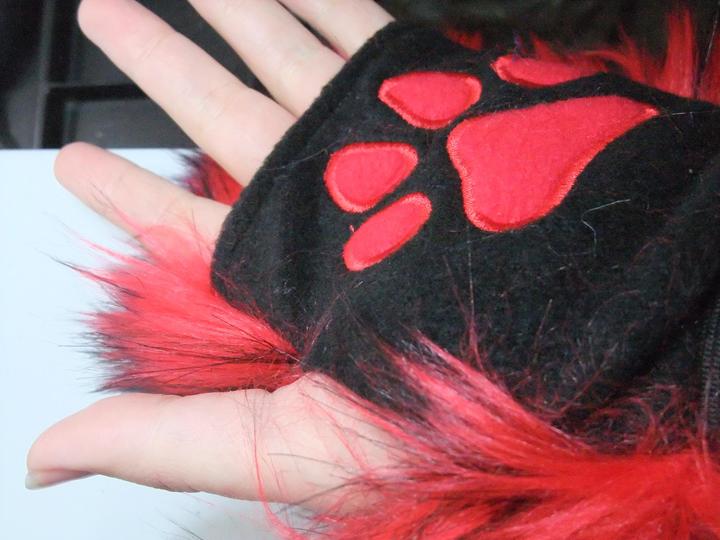
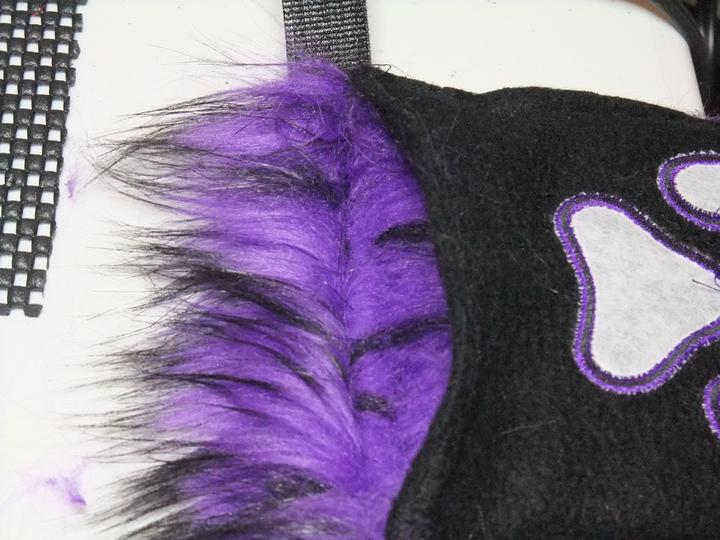
Next up was modifying my husband’s set of paws. He likes having the thumb hole, but it was too small for his hand when we originally got it. The seam bit into the webbing area between his thumb and his pointer finger, and the black felt fabric covered too much of the bottom of his thumb so it restricted his movement.
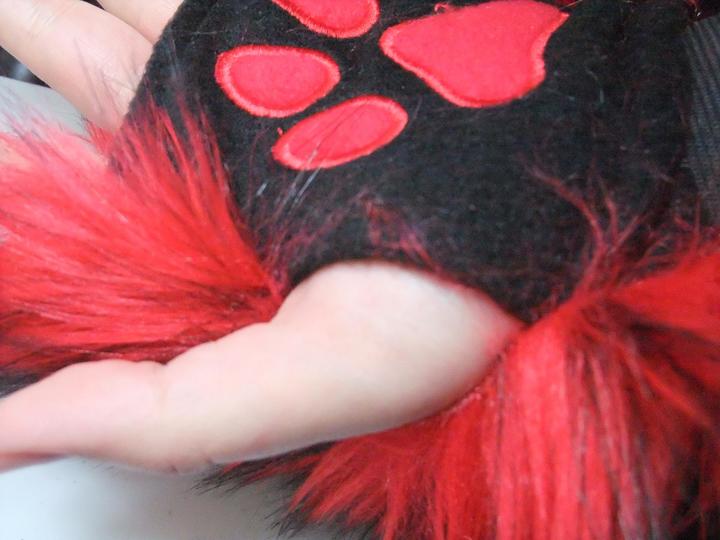
I turned his paws inside out so I could find the seam. Then I used a seam ripper to do exactly that, rip the seam open on the top part of the thumb gap to give room for the webbing of his thumb. I took out half of the original seam and had him try them on again and it was perfect for him. Next I did what I did on my paws, I went over part of the remaining original seam and made sure to back stitch at the beginning and end of my seam. Back stitching helps to ensure that your seam doesn’t come apart by having the thread just pull out of your fabric. Once the seam was secure, I had him try on the paw again and used some fabric chalk to lightly mark on the black felt where he wanted me to cut it so he could move his thumb without moving the rest of the glove. Once we had that done, I cut out the fabric and did a final try on to make sure everything was correct. He gave his approval so I repeated my process on his other paw. Now he can use his hands while wearing the paws and not have it pinch or tug weird.
There was one final thing I did to both sets of paws. The bands of elastic that they came with were not very comfortable for either of us. It was too tight on my husband’s wrist and it dug in uncomfortably when I moved my wrists. We bought a roll of self attaching Velcro and soft fold over elastic as a back up option, which we ended up not needing. The Velcro has a soft side and the scratchy attaching side. I made it so the soft side was against our skin and the scratchy sides were covered up when the paws were being worn.
To start with I removed the elastic by ripping the seam that was keeping it attached to the paw. Next I used my serger machine to serge the entire edge of the glove (fur and felt portions) to give it strength and help keep it from possibly unraveling or tearing. I made sure the glove was turned inside out and that the fur was going the correct way so it wouldn’t get cut off.

Serging isn’t a necessary step for this product but I wanted the extra reassurance that the fabric wouldn’t get torn apart by the Velcro. If you don’t want to or can’t serge the edge, you can fold the edge over and stitch it down, which is what I did next. I folded the serge over and stitched it down. When you fold the edge over, the fur should be trying to stick out. Let it. You definitely want to make sure that the fur that is attached to the folded part is sticking out and your seam is laying flat. Sewing the edge down makes fabric management easier on the next part when you sew the Velcro onto the glove. Also sewing the edge down creates a finished edge all the way around when you turn the glove right side out again. The fur sticking out correctly will give a couple options at the end as well. I know it’s hard to see the stitch through the serge, but here is what it looked like. This also shows what I mean by having part of the fur sticking out.
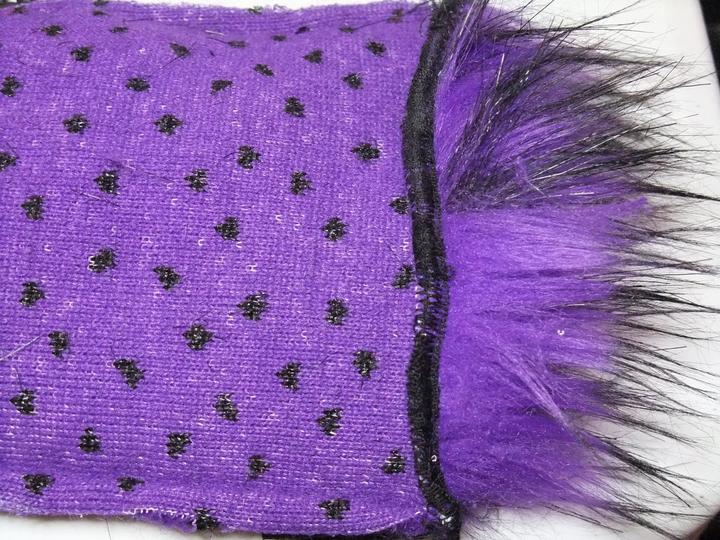
After sewing the edge down, I measured our wrists with the Velcro so that when the Velcro was closed it overlapped itself for the entire span of the under side of our wrist. Once the Velcro was cut, I placed the edge of the Velcro on the edge of the serge as shown below on the fur fabric. I made sure the scratchy side of the Velcro was against the fabric and that it was centered so there was an equal amount of Velcro on either side.
I flipped the glove over and rolled the felt part out of the way so I would have an easier time just straight stitching the Velcro on. You can also see the line in the fur that the fold we stitched down earlier created.
This line is going to be your guide line for the next part. Here is how I lined up the Velcro on my sewing machine. When sewing the Velcro on, you want to try to stitch through the same seam that I said will be your guideline. The second picture is what you get once your complete this step.
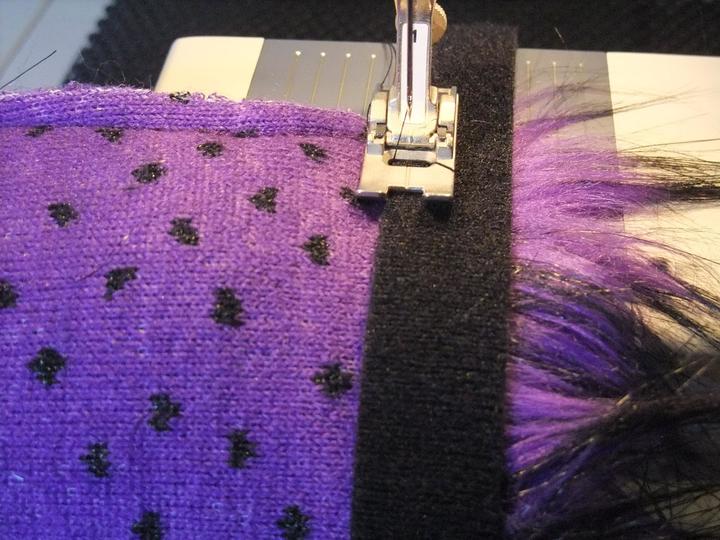
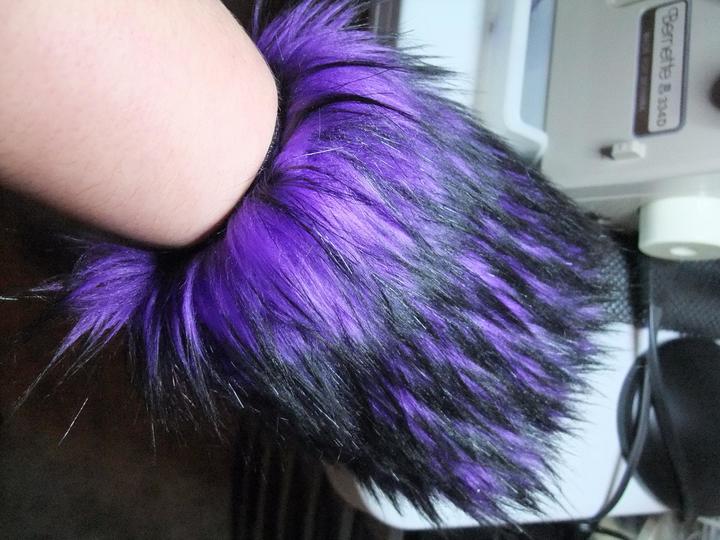
Now you can stop here if you like this look. This is the same look the glove had originally with the elastic. The fur sticks up and covers the band. We decided we wanted the fur to all be going one direction. So I folded the fur that was sticking up to go the same direction as the rest of glove. It still covers most of the scratchy part of the Velcro so it won’t be catching on anything too easily. When you sew the fur down, you want to sew just on the edge of the fur so you don’t really see the seam because the fur will puff back up enough to cover it there. Here is what it looks like lined up on my sewing machine and once that stitch is done.
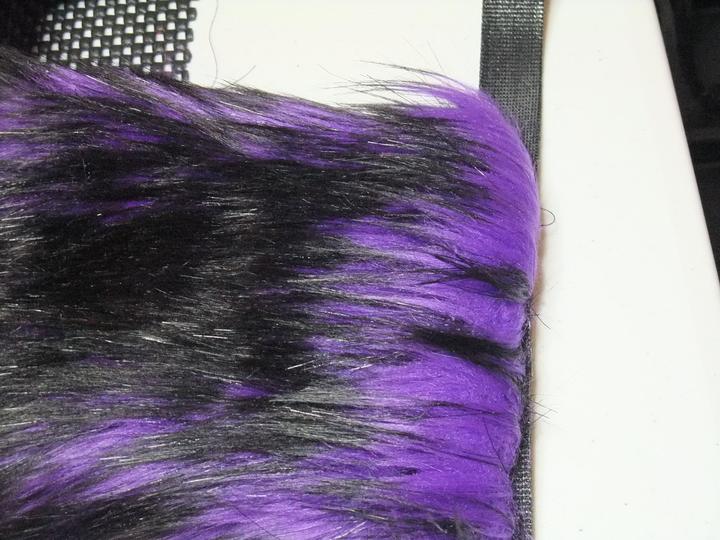
Last but not least here is how it looks on the underside with the Velcro closed. There is a gap obviously as seen in the pictures below. Since the scratchy side of the Velcro is to the outside, what we do is move the black felt part on it to close the gap and secure the glove on. Now we have it so not much of the scratchy part of the Velcro is exposed. It doesn’t dig in when I move wrist around, and since the Velcro was custom made to our wrist sizes, it’s not too tight on my husband. There is a final picture of what the fur side looks like while it is being worn, at least mine. Wearing them around the house they seem to function just fine and not catch on things and be as comfortable as a warm furry glove can be. I will post later how they hold up at the convention.